Wednesday, 6 October 2010

Chocolate Brownies with Raspberry Creammmmmmmmmm


The other day, my friends and I had a little dinner party.  It was all quite last minute but came together beautifully.  By that I mean we all stuffed ourselves silly with stupendous food. Everyone made and brought a different dish. 


This was our menu...


 Chez Mau
Starter
Halloumi Risotto stuffed peppers
 Main course
Spiced pork with red wine sauce
 Autumn vegetable selection
 Home made garlic bread
 Dessert
Double chocolate brownie with raspberry cream
Selection of coffee and teas
********
And this was our pretty table...


My dish, would you believe, was the pud, so I decided to bash together some brownies as you can't go wrong with a brownie.  I always add huge chunks of white chocolate to mine because it tastes heavenly!

I went for some raspberry cream because I thought it would be nice and refreshing. 
And it was.

To make Raspberry cream...

Ingredients
300ml whipping cream
100g icing sugar
150g raspberries

All you need to do, is whisk the ingredients together until the mixture becomes firm (but not too stiff).  I highly recommend using an electric whisk here to prevent your arm falling off.

I garnished mine with some extra raspberries and a few sprigs of fresh mint from the garden.


For the brownies, I've slightly adapted a Nigella recipe...

Ingredients
180g unsalted butter 
180g dark chocolate
3 large eggs
1/2 tbsp vanilla extract
250g caster sugar
120g plain flour
1/2 tsp salt
whatever else you fancy...white chocolate, cherries, walnuts,...chuck in around 150g's worth

*Pre-heat the oven to 180°C


*Line your tray with foil or baking paper (better than buttering it).

*Melt the chocolate and butter together on the hob.  Then allow it to cool down a bit.

*Beat the eggs, vanilla and sugar together in another bowl.

*Combine the salt and flour in another bowl.

*Beat the eggy mixture into the chocolatey mixture and then add the flour and any other ingredients you've gone for.

*Beat it!

*Scrape it all out into your pan and bake it for 25 minutes or until the top of it is a bit paler than the inside and the inside is all gooey and delicious and chocolatey and....mmmm.....


Wednesday, 25 August 2010

Gelatin Flowers!

WOWEE! ELECTRO FLOWERS!


I have always shied away from gelatin in cooking because it's a bit weird.  You use it to make things wobbly and I never really understood it. So i suppose I have missed out on making a fair few flans and tarts. BUT I have most certainly made up for lost time by making FLOWERS out of the stuff!  I will apologise now for all the capital letters but the truth is, I just find it all a bit exciting.

The process of making gelatin decorations involves boiling up gelatin and mixing it with food colouring.  Using wire bent into different shapes, you then dip into the gooey gelatin, like you would with bubble mixture and then leave it to set and form a film.

You need a lot of patience to do this as you can be sitting there for AGES trying to get the gelatin to catch onto the wire and not just pop.  Once it has caught, there is a swirling motion needed to spread it all around evenly.


This spray took a number of hours to complete as it takes a long while to make all the individual parts, dip them, dry them, paint them, tape them.  They're quite sturdy and can withstand being dropped but it's reeeally easy to stick your finger through them too. Boo.

You can make all sorts of things using this method.  The mind boggles!

Tuesday, 10 August 2010

Rolo Cupcakes. Mmmmmmm

Well.  These babies went like hot hot cakes.  But, I'm not surprised because the middle of each one was a chocolately caramely gooey delight.  Just look at the UTTER JOY in Natty's face.

The massive milkshake craze that is sweeping the nation at the moment had got me thinking.  If i can literally chuck any chocolate bar into a milkshake then perhaps I can do the same with my cupcakes.  I don't imagine every type of chocolate bar will produce results as yummy as these but I'm more than happy to work my way through them and find out.

I used a nice light chocolate batter, popped a rolo in the middle of each cake and then covered it up before bunging them in the oven. And Bob was my uncle.


The taste of the middle bit reminded me a bit of the syrup sponge that we used to have at school which i absolutely loved.


I covered them all with some chocolate butter cream and topped each one with a chocolate heart.  I made these by melting up rolos and putting them into a heart shaped mould.  They looked really pretty as they had the streaks of caramel running through them creating a sort of marble effect.  When I ran out of rolos I went on to make some 'mystery chocolates' by melting up a load of Quality Street.

I've just bought some Crunchies and I'm going to try popping some of them in the middle next time, as well as crushing them up to make what I imagine will be an incredible icing!  Then I'll be trying some mars bar, followed by some lindt lindor........suggestions on a postcard please...


Tuesday, 3 August 2010

Sugar flowers

Before i learnt how to make sugar flowers I simply could not fathom how people could make something that was made out of sugar look so incredibly real and beautiful!  I now know that it takes an awful lot of time and patience and an awful lot of tools.  Some of the steps involved in making sugar flowers can literally take hours.  Personally I absolutely love getting stuck into making something, losing track of time.  I've heard several people say that they find projects like this really relaxing and I totally agree.  Once you've spent days following step after step, making petal after petal, gluing, taping, steaming, dusting, breaking, re-making, the end result can be really quite exciting!

Here is a spray I made recently. Yay!


Thursday, 29 July 2010

The Kids Love It!

Recently my lovely Laura came round for a cuppa and brought with her Jak.  Jak is her brother's partner's little boy and she has been babysitting him for the last couple of weeks while he's on sumer holidays.  I must say, if I was Jak's age, 11, I would definitely want to be babysat by Aunty Laura because she's FUN and she's an artist.

Determined to keep his creative juices flowing, we first sat Jak down with pencil and paper and gave him a Kidrobot postcard to copy.  Nice results but he wasn't overly excited by it and wandered off.

A little later Laura and I got the sugar paste out and started making bits and bobs.  In walked Jak.  His eyes widened and from that moment on, he was well and truly engrossed.  Here are some of the things he made:

First was the Evil Eye!


Then came the Purple Pizza!


Fantastic work!!

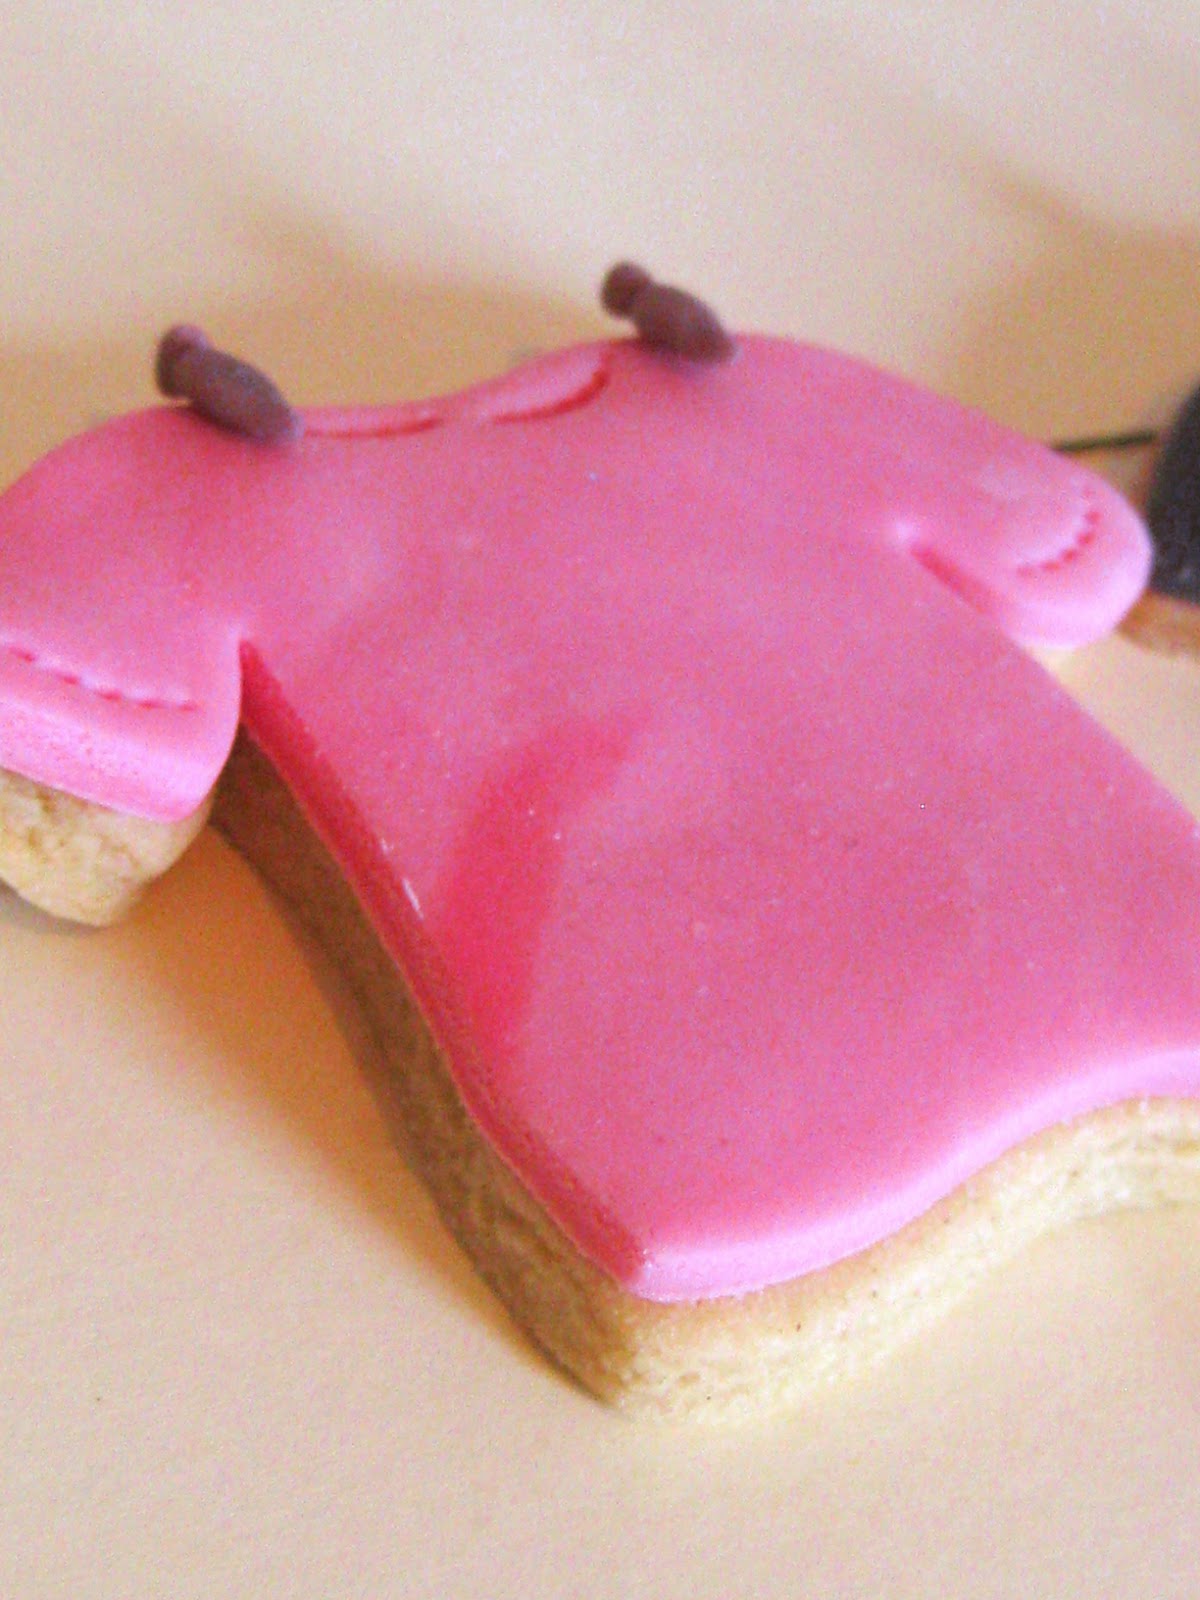
Jumper cookies


I recently attended the launch party for a wonderful new company called Quality Knitwear.  They sell all sorts of beautiful one-off pieces of knitwear.  I had a great time trying on lovely jumpers and rubbing my face in soft woolly cardi's.

I also had a great time making jumper biscuits for the event!  After trawling the internet for the perfect cutter, I sat by the letterbox waiting for it to arrive. "hurrah!" I shouted.  "Let the baking commence!"

So I opened my Hummingbird Bakery book on the sugar cookies page as I trust them entirely, to come out of the oven golden, crunchy and flat.

I chose icing colours to cater for boys and girls and added little cuffs and collars using a small crimper.

Once I had finished icing, I began setting up my photo shoot for the biscuits.  Suddenly i realised I needed pegs.  It was one of those jobs where you get halfway through and think 'WHY?' because it was just so damn fiddly!! But, I persevered and in the end it looked pretty.

Here they are in action on the big day

Wednesday, 7 July 2010

Lydia and Joel's Wedding Favours


 My Beautiful Friends Lydia and Joel recently got married.  It was a gorgeous wedding in Oxford and I was lucky enough to be a bridesmaid. Not only this but i was also lucky enough to be the designated favour-maker.  After much deliberation we decided on puzzle shaped cookies, which were to be decorated with blue flowers and the initials of the happy couple.

I have come to rely upon a pretty simple sugar cookie recipe which can be found in the Hummingbird Bakery cookbook.  It produces really sturdy cookies which turn a lovely golden brown colour if you cook them just right.  They taste delicious as well. I have found however, that they need a LOT of extra flour when it comes to kneading and rolling them out.  Also, the dough does benefit from being sat in the fridge for a little while to toughen up.

Unfortunately I had only 2 days to come up with the goods, but with the help of my wonderful mother, everything was done in time.  I gave her a 30 second lesson in how to use royal icing to stick stuff down and we were away.


First off, I made around 160 biscuits.  Only 140 were needed but once you've taken into account breakages and tasters, you need a good few extra.


Next up was the cutting out of the blue flowers, around 800 to be exact.  I must say, I went into a bit of a trance at this point, as did the cat who was watching from the corner of the room.


It's really important to use freshly made royal icing that has been made to just the right consistency, so that the writing and the squigley lines look need and don't run.  I make mine with reall egg whites and icing sugar.


I decided to make them all the same but different so that everybody felt they had something unique to take home from the wedding (or to gobble up as soon as they sat down....)  

Soon a sea of puzzle shaped biscuits would fill the entire kitchen (and my dreams for the next few nights!)

The end result looked great, even if i do say so myself and it was thrilling to see them all delicately tied up and placed on all the tables.


And judging by the reactions of my fellow guests, they didn't taste bad either...