Thursday, 29 July 2010

The Kids Love It!

Recently my lovely Laura came round for a cuppa and brought with her Jak.  Jak is her brother's partner's little boy and she has been babysitting him for the last couple of weeks while he's on sumer holidays.  I must say, if I was Jak's age, 11, I would definitely want to be babysat by Aunty Laura because she's FUN and she's an artist.

Determined to keep his creative juices flowing, we first sat Jak down with pencil and paper and gave him a Kidrobot postcard to copy.  Nice results but he wasn't overly excited by it and wandered off.

A little later Laura and I got the sugar paste out and started making bits and bobs.  In walked Jak.  His eyes widened and from that moment on, he was well and truly engrossed.  Here are some of the things he made:

First was the Evil Eye!


Then came the Purple Pizza!


Fantastic work!!

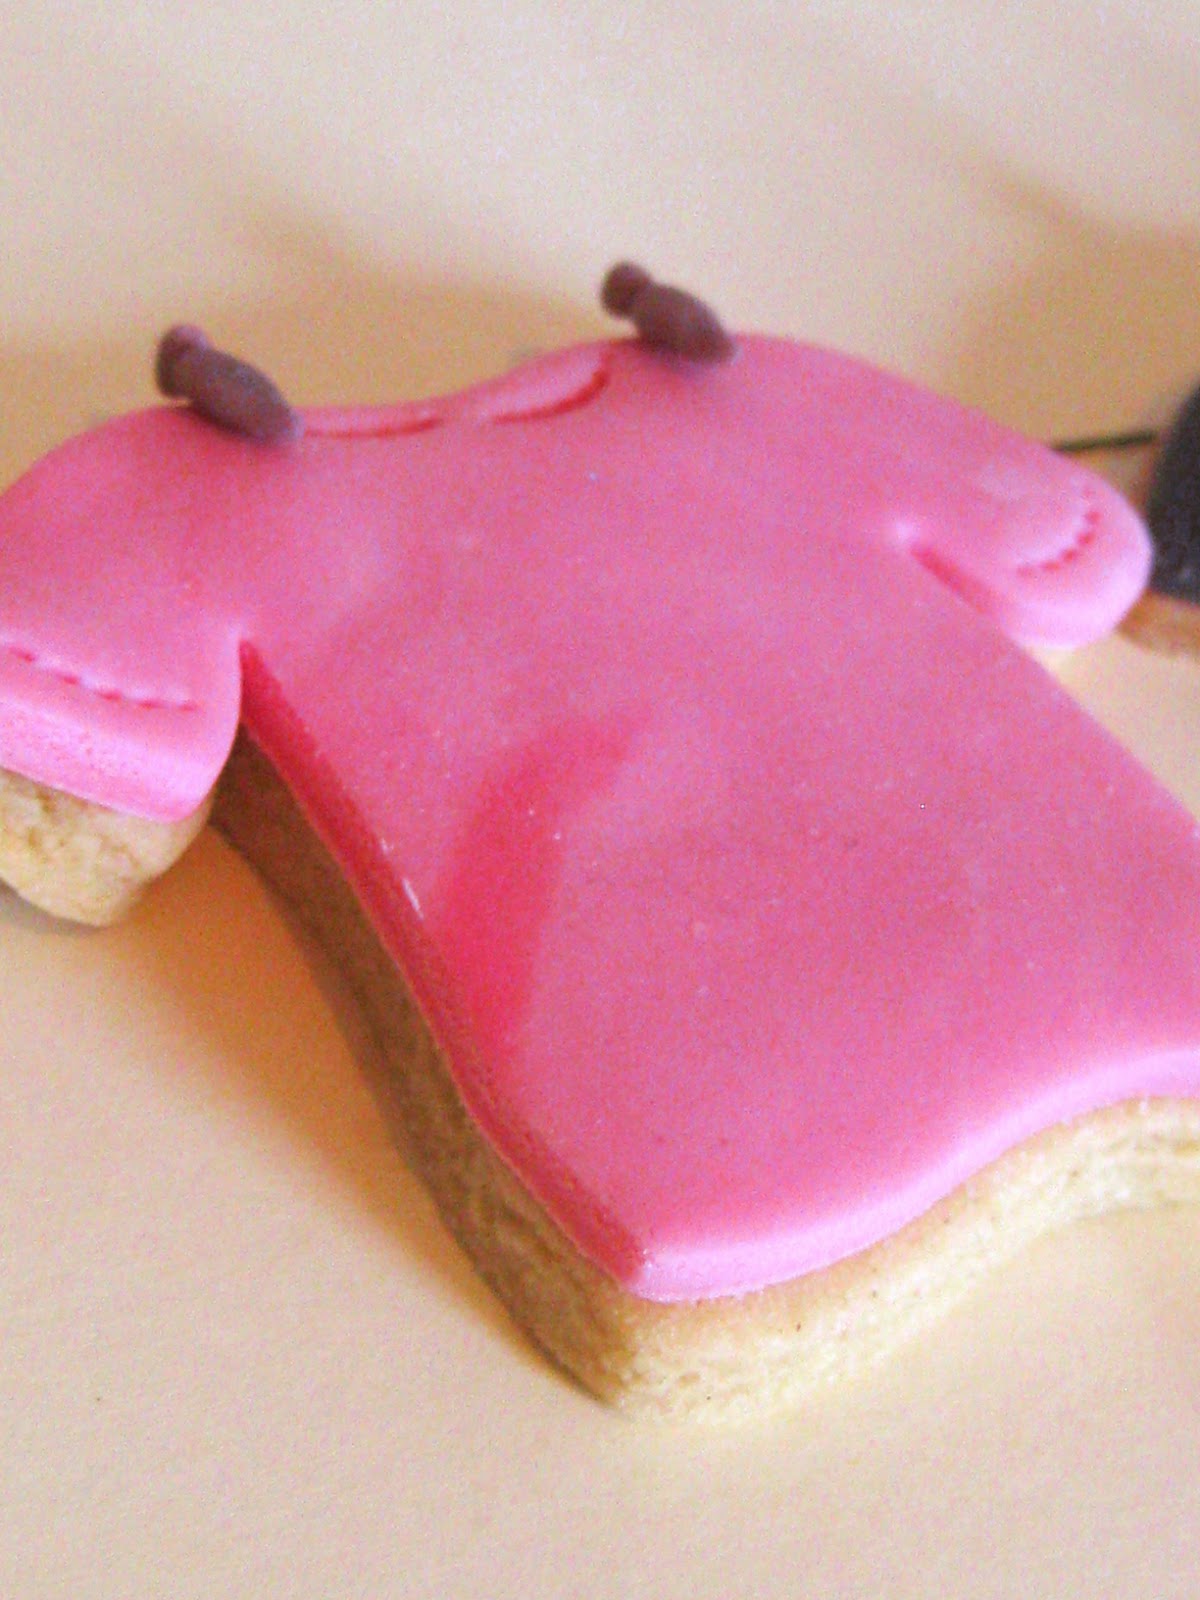
Jumper cookies


I recently attended the launch party for a wonderful new company called Quality Knitwear.  They sell all sorts of beautiful one-off pieces of knitwear.  I had a great time trying on lovely jumpers and rubbing my face in soft woolly cardi's.

I also had a great time making jumper biscuits for the event!  After trawling the internet for the perfect cutter, I sat by the letterbox waiting for it to arrive. "hurrah!" I shouted.  "Let the baking commence!"

So I opened my Hummingbird Bakery book on the sugar cookies page as I trust them entirely, to come out of the oven golden, crunchy and flat.

I chose icing colours to cater for boys and girls and added little cuffs and collars using a small crimper.

Once I had finished icing, I began setting up my photo shoot for the biscuits.  Suddenly i realised I needed pegs.  It was one of those jobs where you get halfway through and think 'WHY?' because it was just so damn fiddly!! But, I persevered and in the end it looked pretty.

Here they are in action on the big day

Wednesday, 7 July 2010

Lydia and Joel's Wedding Favours


 My Beautiful Friends Lydia and Joel recently got married.  It was a gorgeous wedding in Oxford and I was lucky enough to be a bridesmaid. Not only this but i was also lucky enough to be the designated favour-maker.  After much deliberation we decided on puzzle shaped cookies, which were to be decorated with blue flowers and the initials of the happy couple.

I have come to rely upon a pretty simple sugar cookie recipe which can be found in the Hummingbird Bakery cookbook.  It produces really sturdy cookies which turn a lovely golden brown colour if you cook them just right.  They taste delicious as well. I have found however, that they need a LOT of extra flour when it comes to kneading and rolling them out.  Also, the dough does benefit from being sat in the fridge for a little while to toughen up.

Unfortunately I had only 2 days to come up with the goods, but with the help of my wonderful mother, everything was done in time.  I gave her a 30 second lesson in how to use royal icing to stick stuff down and we were away.


First off, I made around 160 biscuits.  Only 140 were needed but once you've taken into account breakages and tasters, you need a good few extra.


Next up was the cutting out of the blue flowers, around 800 to be exact.  I must say, I went into a bit of a trance at this point, as did the cat who was watching from the corner of the room.


It's really important to use freshly made royal icing that has been made to just the right consistency, so that the writing and the squigley lines look need and don't run.  I make mine with reall egg whites and icing sugar.


I decided to make them all the same but different so that everybody felt they had something unique to take home from the wedding (or to gobble up as soon as they sat down....)  

Soon a sea of puzzle shaped biscuits would fill the entire kitchen (and my dreams for the next few nights!)

The end result looked great, even if i do say so myself and it was thrilling to see them all delicately tied up and placed on all the tables.


And judging by the reactions of my fellow guests, they didn't taste bad either...

Tuesday, 22 June 2010

Lighthouse Wedding Cake

I am writing this while under the weather so i'm slightly delirious and doped up on headache pills, so please excuse any stupid jokes/general nonsense.


Never one for keeping things simple, I recently gave myself the massive task of creating a wedding cake (my first ever) with a massive lighthouse on the top.  I was told that the newly-weds would be spending their honeymoon in Cape Cod and so, to prepare them for all the lighthouses there, i thought i'd put one on top of the cake, so they know what to expect.

After a few scribbles, i came up with this plan:

Pastillage is a type of icing i had not worked with before this project.  There are a number of different recipes for making pastillage.  Mine was a combination of royal icing, icing sugar and gum trag. Cornstarch and gelatin can also be used.  Once it was left (wrapped tightly in plastic) for 24hrs it was ready for use.


Patillage is often used for intricate modelling as it dries very hard, much more so than sugarpaste, gumpaste or marzipan.  However, it is still very fragile and is just as likely to leave you in tears...ahem, i mean disappointed when your detailed work cracks in your hands. before you very eyes. right infront of you. after hours. and hours. sigh.


SO, you need to be very careful when working with pastillage and make sure you give it a good 24hrs to dry before you start fiddling with it, because you'll feel very silly when your impatience causes a mega breakage.


Royal icing however, is always a good friend and can fix many breakages.  It is also very good for filling in little holes, creases or joins.


The reason why pastillage can be such a challenge to work with, is that it dries incredibly quickly.  From the moment you unwrap it and start rolling it out, it's starting to dry up on you.  For this reason, you should know exactly what you're doing beforehand.  Drawing a plan or cutting out template are good ideas.  Also, you should only work with the smallest amount possible at a time.


Once completely dry, pastillage can be sanded down with very fine sand paper so that you are left with a really smooth surface, smooth joins between parts and clean edges.  For tiny bits, you might find it easier to use a clean nail file.


Good old fruitcake, done over the hob was in the middle of all the icing and marzipan. An absolutely delicious recipe which i have managed to steal off of my friend Laura.  Make sure you leave yourself plenty of time when making fruitcakes as they often take several hours to cook so a wedding cake with several tiers could take you all blimmin day.

I used a mould to create little shells to go in the corners of the cakes.  I decided to use flowerpaste to get a good firm shell that would pop out of the mould easily.  Before using a mould, you should rub a tiny bit of trex (white fat) onto it.  This will help the icing to be released and ensure you get a really clean imprint.


And this was the final product...


Monday, 24 May 2010

turning a tantrum into a beautiful birthday cake!


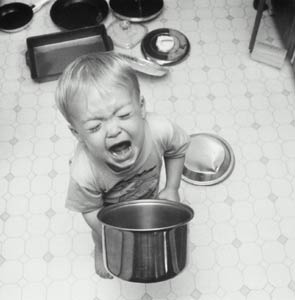
Tantrum in the kitchen

More often than not, edible birthday presents are the best kind.  That's why I opted for a birthday cake in the shape of a birthday present!


I knew this was going to be somewhat of a challenge.  There were sure to be a number of hurdles along the way.  I got over most of them and whacked my shin on just a few.  This was a good exercise in keeping calm and a realisation that cakes can be quite unpredictable, no matter how meticulously you plan your creations.


That moment when you open the oven door to discover that your cake has risen to just half of the height you expected can be a toughy.  However, I am learning more and more each time I make a cake, that you have to be prepared to adapt things as you go along.  That may mean changing dimensions, making extra cakes, re-thinking methods.  Anything that you can do to avoid scrapping perfectly tasty, but unfortunate looking baked goods.


If i do say so myself, you'd probably never guess that i threw a hissy fit halfway through making this cake.


Inside was a rather beautiful chocolate sponge.  It's a good'un.  Lush chocolate cake recipe


The cake should be attached to the board with royal icing or 
buttercream


tip:  If either of your cakes sink (ahem) put the sunken side underneath.  This way the top of the cake will be flat and the buttercream in the middle will fill in any gaps.


I then covered the outside of the cake with a thin layer of buttercream.  This works as a kind of polyfiller and smoothes out any dimples in the cake to give you a nice smooth surface to work with.  You can also use ganache or marzipan for this (although i wouldn't recommend putting marzipan on a chocolate cake...)


stabbing the gel dye into the icing is fun...


Then came the colouring of the paste.  Colouring up large amounts of sugarpaste with gel dye can be an arduous task so be prepared to get achey hands and to get a bit messy.


The decorating of the cake took a few days to complete, waiting for bits to dry etc.


I had made the stars a week or so earlier as they were a job in themselves...


Stars on wires (in a spray)


You will need:


sugarpaste


gel dye


edible glue


florists' tape


flower pic


florists' wire


rolling pin


icing sugar for dusting


star shaped cutters


wire cutters


pliers 


Colour up your sugarpaste.


Cut your wires into 3 (you could cut them into more or less if you wanted shorter or longer wires)


The thickness of your stars will depend on the strength of the wire you've chosen (although probably no thicker than about half a centimeter as they'll look bulky).  The thinner the wire, the more you will be able to bend it and the more movement there will be.  However a thinner wire will need a thinner star otherwise it wont stay up, so try a few different thicknesses out.  Push the wire into the star and hold the wire at the bottom to see if it sits how you want it to.


Once you're happy with the thickness of your stars, sprinkle some icing sugar onto a clean non-stick surface and roll out enough paste to cut out all of your stars in one go so that they're all the same thickness.


Bend one end of each of your wires so they have a tiny hook.


Dip the end into your edible glue and while it's flat, carefully push it into your star.  Be careful not to push it in too far so that it comes out the other side.  Do this to all of them and leave them to dry flat.


You can of course make any shape, not just stars.  You can also decorate them however you like.  I used royal icing to pipe '21' onto all of mine and then covered them with edible glitter.


Give the stars a few days to dry completely.


To arrange them on your cake, put them all together in a bunch and get them looking nice and neat.


Cut off any straggling ends of the wires.


Using your floristry tape, bind them together at the end.  Don't tape too high up otherwise you won't be able to pull them apart.


Push the ends of the bound wire into your pic.  The pic is the only part that can safely be put into edible goods.


push your pic into the centre of the cake and then put the wires around until they look beautiful.


tadaaa!!


All in all, this cake was a huge success and i'm rather looking forward to making it again.  Get your orders in quick!!


Saturday, 15 May 2010

Babycakes, you just don't know know


It's not so easy to type today because the cat is asleep on the keyboard.

I thought I would share with you some baby cakes I made for some friends who recently had an ickle one.

I was massively inspired by my new Planet Cake book.  It's full of beautiful cake designs and excellent advice to help you make rather exquisite looking cakes. (even if i do say so myself).  I would definitely recommend a peruse of that website.  

I used the trusty Primrose Bakery vanilla cupcake recipe for the actual cakes.  I then used a thin layer of royal icing on top of them to stick the sugar paste to.  You could also use buttercream, ganache or boiled apricot jam as your glue.

If you've got a circle cutter that's similar enough in size to the top of your cupcake and a decent smoother, you're well on the way to having a neatly covered cupcake.  Simply spread your 'glue' (nice and thinly), place the sugarpaste circle on top and then carefully smooth it down.

If your cupcake has a rounded, or domed top then you will have to do a bit of work on the edges with the smoother, to get them to reach the edges.  If your cupcake is completely flat then you will need your circle to be as close to the size of the top of the cake as possible.  If your cupcake is uneven on the top, you could use a sharp knife to even it out.  Also, vary the thickness of the sugarpaste slightly, depending on whether you need to cover up any bumpy bits!

Once you've got your nice smooth surface, you can decorate away!


Sorry if i got that horrid song stuck in your head...


Thursday, 13 May 2010

Red velvet cupcakes


The Red Panda. Awwww!


There's something so exciting about making something a different colour to what it should be.  Therefore, i was SO up for trying out some red velvet cupcakes.  Apparently these little delights originally got their red colour from a chemical reaction that took place between the ingredients used to make them.  As time passed however, something happened and they no longer do that.  (Explanations on a postcard please)


So, these days, we cram them full of red food colouring so that when you stick your fork (or face) into them, you are still greeted with a burst of bright red cakey joy.

Kal sat dribbling while i snapped his cake

I went for the hummingbird bakery recipe.  I became a bit wary of this book after several failed attempts to re-create the vanilla cupcakes which look so beautiful in the photos. After lots of googling, I found that numerous people had the same problem with that recipe (and a few others).  Each time, my cupcakes had come out dense with a funny bubbly layer on the top and although I planned to plaster them with icing, it just wasn't good enough.

 However, I decided to let them off as their chocolate muffins were so good.

The recipe made me feel a bit nostalgic because it contains bicarbonate of soda, vinegar and red food colouring, which as I'm sure most people know means VOLCANOES!  In my case, a huuuge Papier-mâche one that erupted tremendously all over the floor!


I can't pretend i wasn't excited when I pulled these out of
the oven.

Different recipes call for different types of food dye, but I had read that the gel dye was more effective and it felt better to just put in a teaspoon of gel, rather than a whole bottle of liquid dye.


The icing is a cream cheese icing, made with butter, cream cheese and icing sugar.  There are tonnes of different versions available on the web, including here .  A really great icing reference page! 

All in all.  These were a huge success.  Although they are made with cocoa, they aren't really chocolate cakes at all.  They have a subtle chocolately flavour and a beautiful texture.  And best of all, they're blimin red!